
Two friends are sitting at a workshop table. One holds up something they have made; the other watches from further back. You want the picture to be about the maker, but your attention keeps landing on their friend. Before reaching for stronger background blur, decide who should carry the story.
iPhone portrait focus can be changed in a supported portrait. Apple’s guide says changing the subject or focus point is available on iPhone 13 or later, and the new subject must not be blurred or too far away.[1] Start with a suitable photo, rather than the hope that every soft detail can be rescued.
The visuals in this article are AI-generated concepts, not screenshots, iPhone samples, or customer results.
Choose who carries the story

Look at the whole picture before zooming in on faces. For workshop coverage, the person presenting their work might be your subject. For a personal memory, the exchange between both friends may matter more than either person’s appearance. Using a portrait effect does not mean you have to make everyone else disappear.
Try finishing this sentence: “I want people to notice … first because …”. A clear answer separates the purpose of the picture from the urge to make its background softer. If the conversation matters, consider a result that still makes room for both people. That is a storytelling choice, not a camera rule.
Next, look closely at your preferred subject. Can you read their expression? Are the hands showing the object clear enough to understand? Is the object itself still recognizable? As a practical judgment, do not choose the nearest face automatically if a gesture is doing more to explain the moment.
Now imagine your preferred person is small in the distance and already blurred. Making them the subject might suit the story, but the source may not support that decision. Apple explicitly says the new subject should not be blurred or too far away.[1] If that condition is doubtful, look for another photograph from the session instead of treating extra blur as a workaround.
Set a simple editing aim: “Emphasize the maker while keeping their friend’s reaction readable.” Use it to compare versions, rather than switching subjects whenever a different variation catches your eye.
Change focus only in a supported portrait
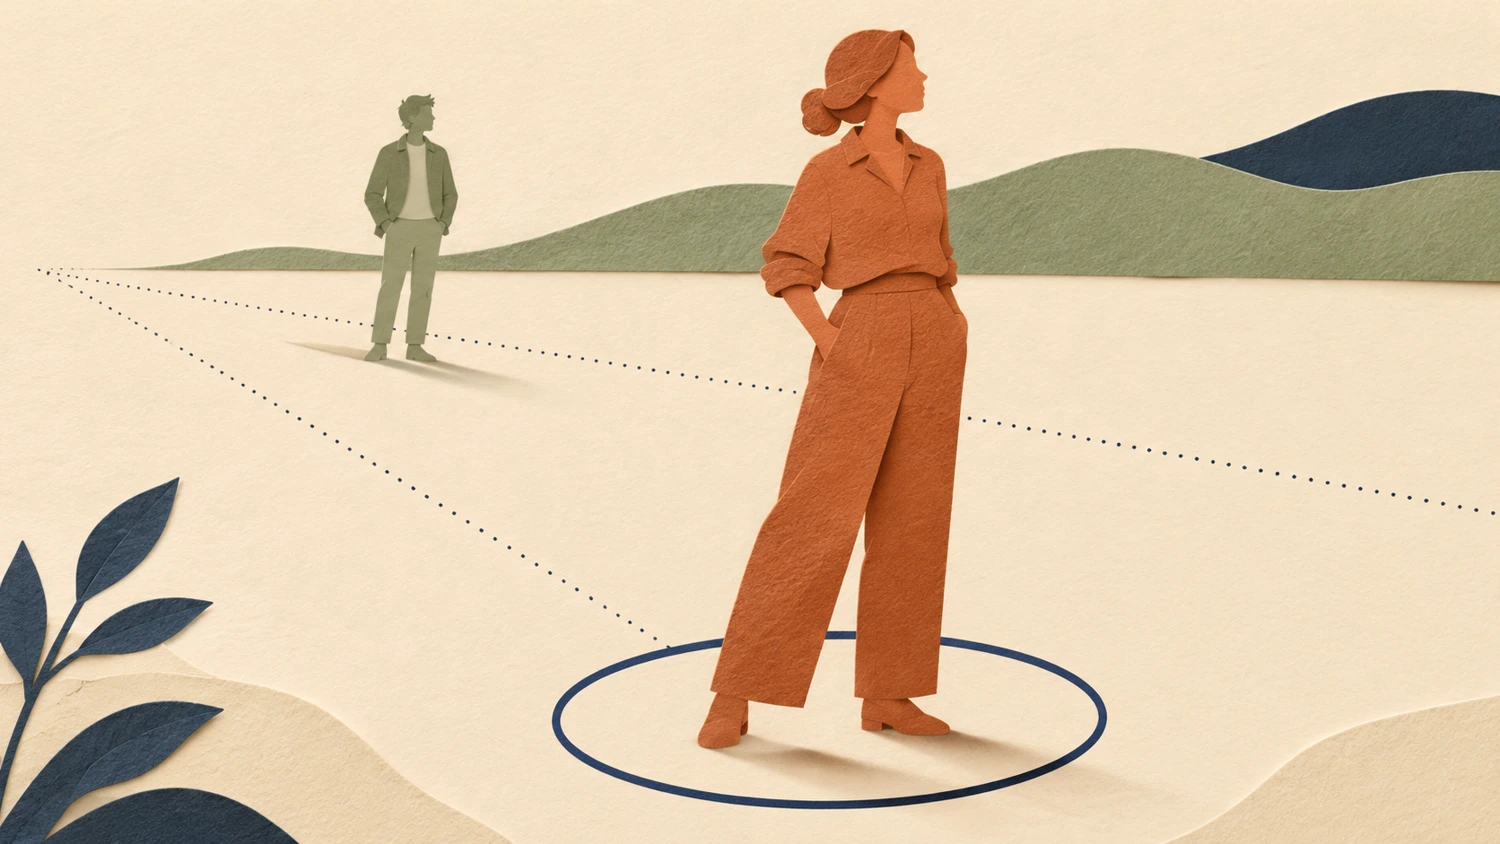
The focus point is the selected focus target. Apple says selecting a new subject automatically adjusts background blur so the new subject appears sharp and in focus.[1] Read this alongside the source-quality limit, not as a promise to restore detail never captured.
Check the device and the photograph separately. The iPhone 13-or-later requirement does not mean every image in your library offers the same editing possibilities. This section of Apple’s guide specifically starts with a Portrait mode photo.[1] Do not assume an ordinary JPEG, screenshot, or copy received in a message necessarily provides the same focus controls.
Apple’s documented route is to open a Portrait mode photo in Photos, choose Edit, select Portrait, tap a new subject or focus point, and choose Done.[1] These are the English labels used in the official guide. Match the controls and availability to your iOS version and photograph; this is documentation-based guidance, not a hands-on device test.
Compare subject choices against your original purpose, not background softness alone. Is the intended person easier to find? Can someone understand their role without a lengthy explanation?
If the controls are missing or the new selection still looks unsuitable, pause. Check the device, system version, and photograph against Apple’s guide. Converting an ordinary photo into a portrait is outside this walkthrough. So is choosing a different moment: the decision here concerns the focus target within the same photograph, not a replacement frame.
Adjust blur while checking the new subject
Once you have chosen the subject, consider the strength of the blur. Apple describes Depth Control as a slider that adjusts the level of background blur in portraits.[1] That is a separate decision from choosing the focus target: one determines who you select, while the other controls how strongly the background is softened.
In the same guide, Apple places this adjustment under Edit and Portrait, with the Depth Control slider at the bottom of the screen. A gray dot marks the photograph’s original depth value.[1] Use that as a comparison point, not a universal ideal. Try a small adjustment, then return to the whole picture before deciding whether it helps.
For review, inspect hair, glasses, shoulders, and anything held in a hand. Look for edges that seem interrupted or parts that have become difficult to read. This is a way to choose a convincing result, not evidence that the effect can always separate every fine detail perfectly.
Then view the photograph at a size close to its intended use. For an activity post, can you still identify the person without losing the table and the work? For a personal memory, does the second friend still feel present? Compare versions so novelty alone does not make a dramatic edit seem better.
Stop when the subject is clear and the background no longer distracts from the story. If the new subject remains blurred, do not keep increasing the blur to manufacture a sense of success. Another photograph, or an assessment of the source before further retouching, may be the more sensible choice. These comparisons are editing advice, not guaranteed outcomes.
If this part still needs careful work, tell SCI Magie how you want to use the photo and what must stay unchanged. Explain who should stand out and which context needs to remain. Powered by Shaniba Creative Industry.
Primary reference: Apple — Edit Portrait mode photos on iPhone, particularly the sections on changing a portrait’s focus point and adjusting background blur.