Your café photo looked fine a few edits ago. Now it is too yellow, and you have already saved it. Should you start again, or can you go back? iPhone Revert to Original can help with an image edited in Photos, but that is not the same as unpacking every finished image someone sends you.
Start by identifying the photo you are opening and the change you want to undo. Stepping back while you are editing, reverting a saved edit, and asking a sender for the source file solve different problems.
The opening image and two-stage illustration are AI-generated concepts, not app screenshots or customer work.
Know whether you are still editing or have already saved
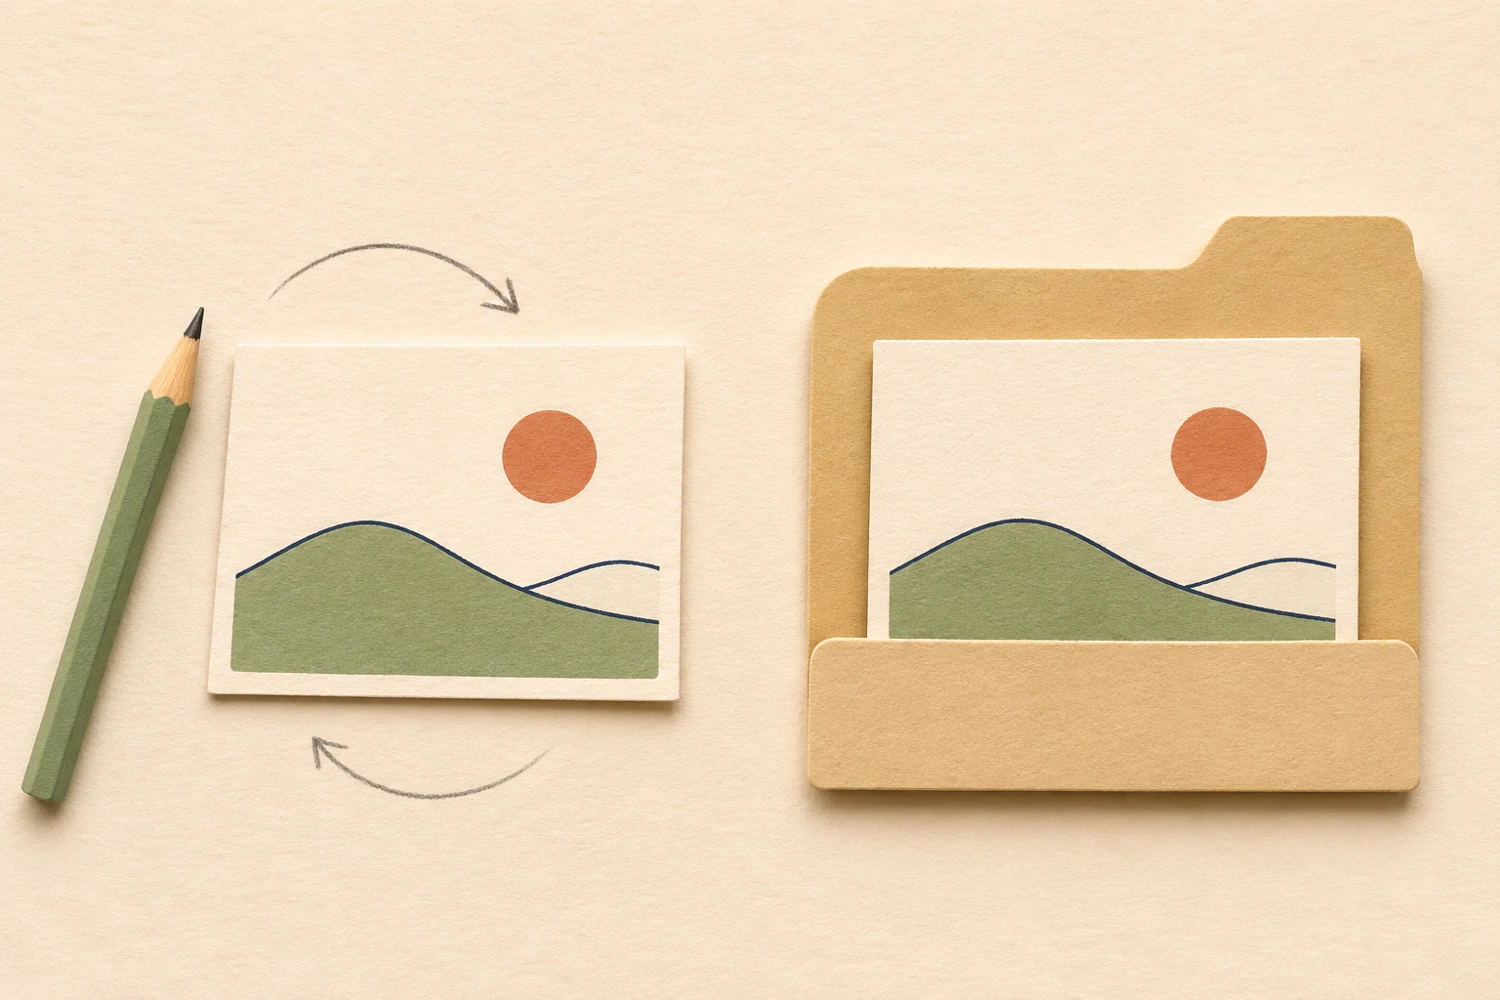
Apple distinguishes undoing and redoing changes during an edit from returning to the original after saving. While editing a photo or video, the Undo and Redo controls at the top of the screen let you undo and redo multiple editing steps.[1]
If you have just pushed the colour too far but like the crop, start with the recent change that caused the problem. That is a more useful first move than immediately returning the entire image to its starting point. Check the result as you step back rather than relying on your memory of a slider position.
After saving, Apple provides Revert to Original to return to the original version.[1] Do not treat that command as a promise to remove one chosen adjustment while preserving everything else. If you only want a slightly more neutral colour, decide whether you need a further adjustment or genuinely want the original as your starting point.
These directions follow Apple’s guide, which displayed iOS 27, 26, and 18 choices when checked. Control names and locations may differ with your device’s version and language. Look for the matching function rather than choosing a delete option simply because it appears nearby.
iPhone Revert to Original: compare before deciding
While editing, Apple says you can tap the photo or video to compare the edited version with the original.[1] Give that comparison a specific purpose. Has the colour become too warm? Are bright areas uncomfortable to look at? Has the crop removed context that matters?
Judge the whole image as well as the detail that first bothered you. Returning to the original may be a sensible starting point when the overall editing direction no longer suits the intended use. A small distraction in one corner, however, does not automatically mean you need to discard the entire edit.
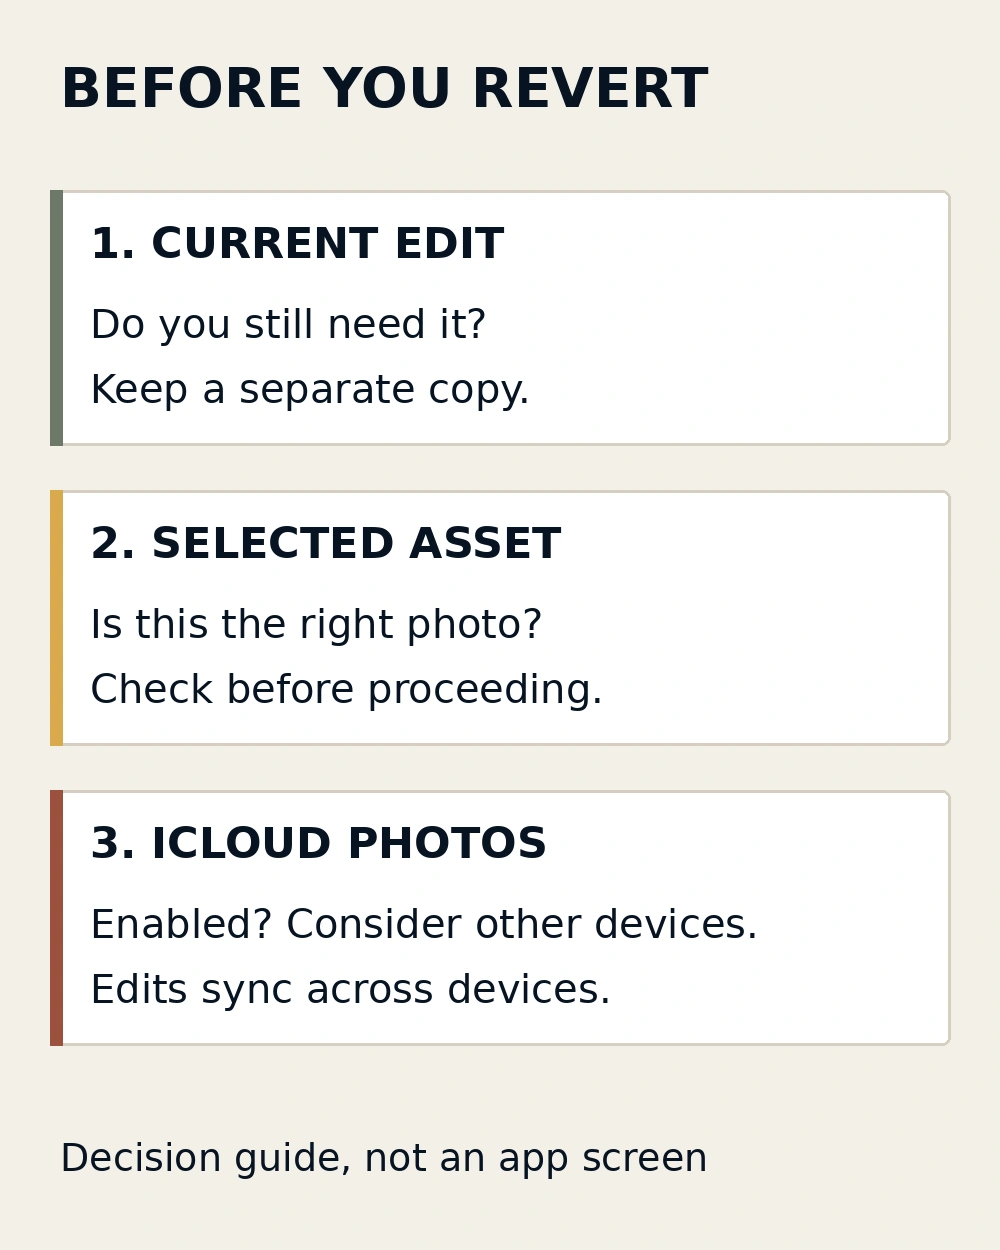
For an edit you have already saved, Apple’s documented route is to open Photos, open the edited photo or video, tap More, then choose Revert to Original.[1] Make sure you are working on the right asset before proceeding. If you still need the current edited appearance, save a separate copy and confirm that it opens before reverting this asset. Do not assume Revert creates a new backup for you.
Ask these three questions before you decide:
- Do you still need to use or send the current edit?
- Is the open photo definitely the asset you intend to revert?
- Are you using iCloud Photos, and have you considered your other devices?
That last question matters because Apple says edits to photos and videos are saved across your devices when you use iCloud Photos.[1] Do not assume a change is confined to one iPhone. Synchronisation is also not a reason to stop keeping important source files separately.
Do not confuse a delivered image with its original Photos asset
A JPEG from a friend or a download may look like any other image in your Library. The Revert documentation discussed here concerns photos and videos edited in Photos; it does not guarantee that every JPEG carries the sender’s editing history from another device or application.[1]
If you want less facial retouching or a different colour treatment in a delivered image, ask for whatever source file is still available and describe the change you need. Do not expect Revert to reveal layers, restore details that are no longer present, or reliably take someone else’s finished work back to its unedited state.
For a clearer handoff, gather the available source, the current result, and a short note explaining what should change and what must stay untouched. Keep style references separate from the actual photograph to be worked on. You do not need to know every technical term to make those distinctions useful.
If the colour or retouching still needs careful work, tell SCI Magie how you want to use the photo and which details must stay unchanged. The first decision is straightforward: identify the asset, compare the appearances, then choose the appropriate next step—not Revert in the hope that any finished file can be taken apart.
Powered by Shaniba Creative Industry.
Source: [1] Apple — Undo and revert photo edits on iPhone.